|
|
|||||||||
|
|||||||||
|
Union City, Georgia How To... |
|||||||||
 |
|||||||||
|
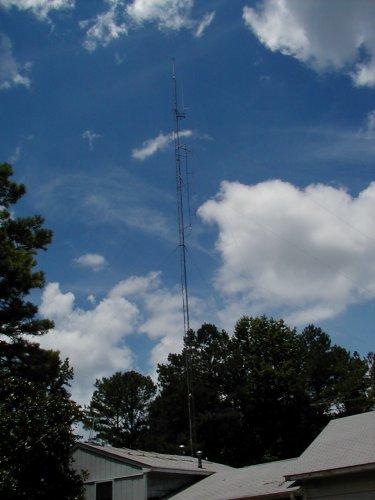
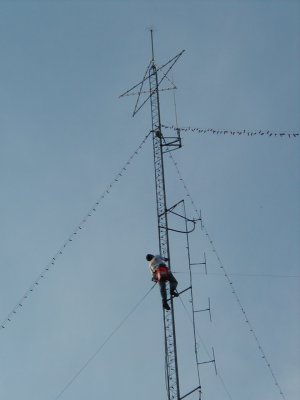
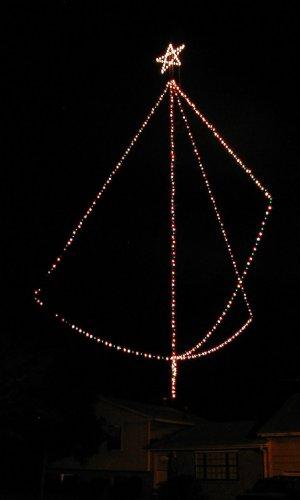
The
130 ft Rohn 25G
tower takes on a different look around the holidays. This transformation
takes place to the delight of the neighbors that stop and ask how it
is done and wish us happy holidays. Cars drive by and stop to gawk once
they see how tall it really is. In the picture below you can see the
house in the dim light. The star is about 8 feet tall so you can get
a feeling for the size of the whole thing.
|
|||||||||
|
|||||||||
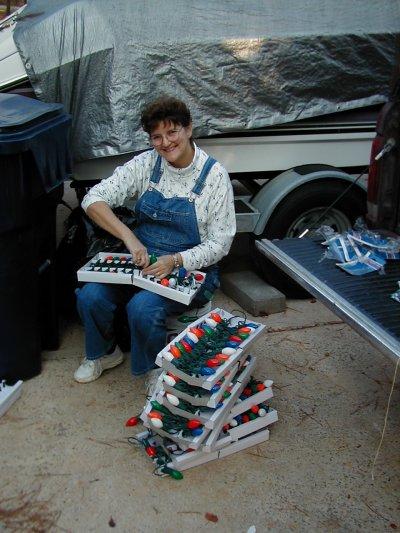
| Start with 5 ten foot lengths of schedule 40 pvc pipe, some stainless screws and nuts, 19 strings of 25 colored lights, 3 strings of clear lights, black tape, tywraps, pieces of #14 and #12 wire to tie things off with and some excellent help. | |||||||||
|
|||||||||
|
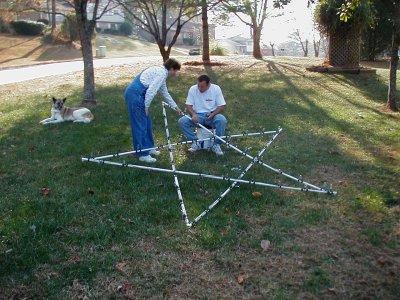
Patty
and Mike get the 8 ft. star ready while Tony is splicing the strings
of lights together. Here we use about 53 lights (just over two strings)
spliced together and taped to the PVC star to form the image. (2001)
|
|||||||||
|
|||||||||
|
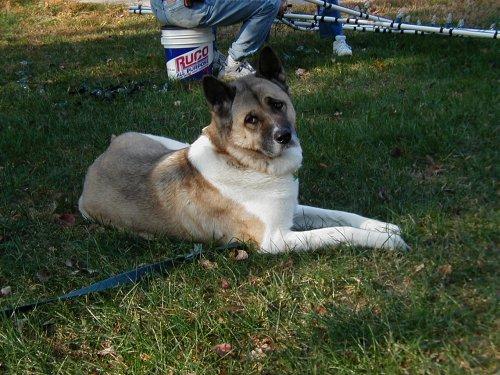
Brandy
is content to watch... good girl! (2001)
|
|||||||||
 |
|||||||||
|
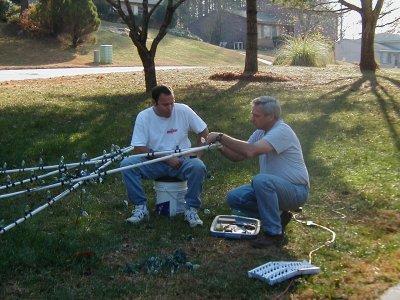
Tony
helps Mike splice the strings of lights together for the star. (2001)
|
|||||||||
|
|||||||||
|
Patty
works on making sure the bulbs are all tight in their sockets after
Tony has spliced them together. Then they're tested. The strings of
lights as they come from the factory usually have loose bulbs and sometimes
missing or bad ones. (2001)
|
|||||||||
|
|||||||||
|
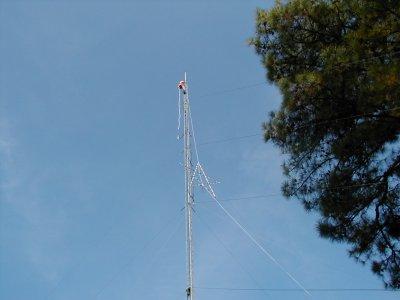
The
star is on the way up. Tony feeds out just enough rope to keep the star
away from the tower while Mike is up top pulling it up by hand. (2001)
|
|||||||||
|
|||||||||
|
The
star is almost there. Does it seem like a long ways up there to you
too? (2001)
|
|||||||||

|
|||||||||
|
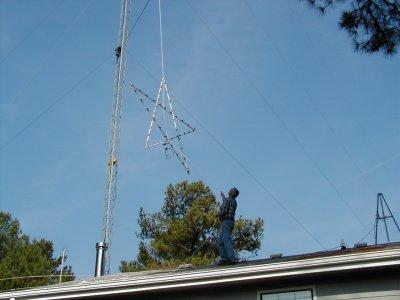
Positioning
the star and securing it is an awkward job but Mike makes short work
of it and ties it off to the tower using lengths of #12 wire (about
a foot long). (2001)
|
|||||||||

|
|||||||||
|
At
this point Tony is just standing there watching and Patty takes the
picture...
wouldn't ya know it? (2001) |
|||||||||
|
|||||||||
|
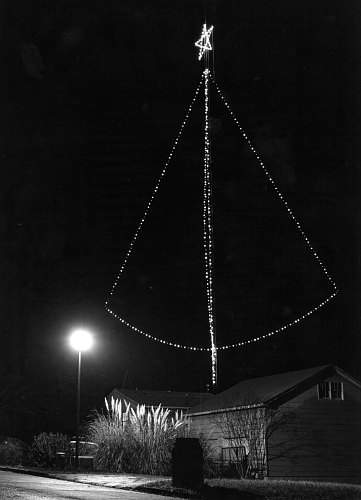
The
star is secure, the lights have been pulled up the guy wires and up
the center. (2001)
|
|||||||||
|
|||||||||
|
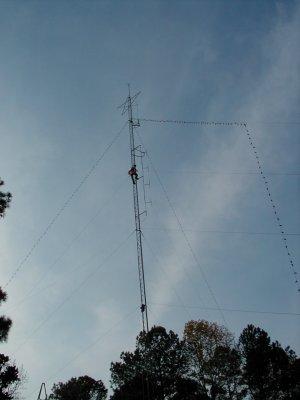
Mike
is on the way down tying the center string to the tower. (2001)
|
|||||||||
|
|||||||||
|
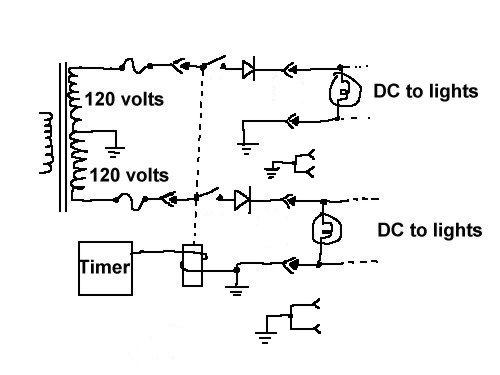
The lower portion of the outer strings is pulled over to the tower forming the bottom of the tree. The power for the bottom strings and the center string comes from a junction box right where the lower strings come to the tower. The power for the star and the outer strings is fed from a junction box at the top. Okay, figure it up... 25 lights per string... 21 strings... That's 525 lights... each light is 9 watts... that's 4,725 watts! Now, for the rest
of the story... |
|||||||||
 |
|||||||||
|
Don't try this at home... This is a simplified schematic diagram of how the lights are wired. The transformer represents the power transformer at the street. The fuses represent two 20 amp breakers in the breaker panel which feed two receptacles. The diodes and lights are controlled by a timer and relay and the whole thing is plugged into the receptacles. The relay, diodes on a heatsink, a thermocouple type thermometer (to monitor the heatsink temperature) and receptacles to feed the DC out are all mounted on a board. A receptacle with all connections tied together and connected to a large ground wire tied back to the cold water pipe is also mounted on the board. The strings can be unplugged from the DC supply and plugged into this grounded receptacle to effectively ground all the light wiring. |
|||||||||
Last update was on November 20, 2006 5:19